A screenshot on its own often raises more questions than it answers. "Which button?" "What am I looking at?" "Where's the problem?" A few arrows, a line of text, and a highlight turn that same image into something instantly clear. Annotating screenshots is one of those small skills that makes you noticeably better at explaining things. Here's how to do it well, and the quickest way to get there.
Why Annotation Matters
The whole point of a screenshot is to show, not tell. But a raw capture leaves the viewer to hunt for what you mean. Annotation removes that friction: an arrow says "here," a box says "this part," text says "do this." Whether you're reporting a bug, giving design feedback, writing a how-to, or just helping a relative find a setting, marked-up screenshots cut back-and-forth dramatically.
The Core Annotation Tools
You don't need many. A handful cover almost every situation:
A Simple Annotation Workflow
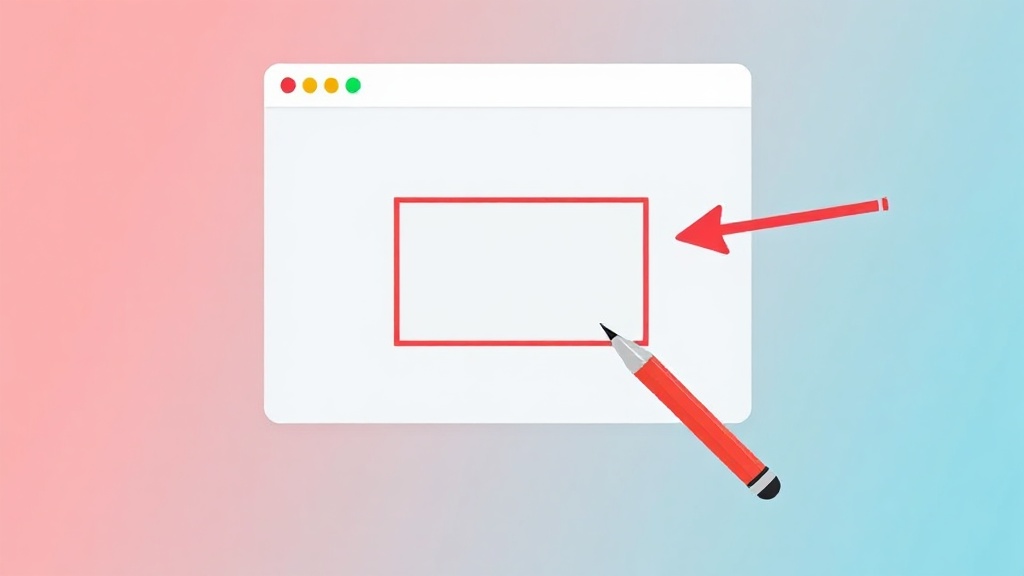
Keep it light. Capture the screenshot, add one arrow or box to the single most important spot, drop a short text label if it needs words, blur anything private, and save or copy. The mistake people make is over-marking — ten arrows and five boxes turn clarity back into clutter. One clear pointer usually beats a decorated mess. If you're documenting steps, one clean annotation per screenshot reads far better than one busy image trying to say everything.
Use a consistent, high-contrast color (bright red is the classic) for all your markup. Consistency makes annotations read as "the author's notes" rather than part of the page.
The Slow Way vs. the Fast Way
The traditional route is capture in one tool, open the image in a separate editor, annotate, then export — three steps and two apps for what should be quick. The faster way is a tool that captures and annotates in one place. InkShot grabs a full-page, visible, or selected-area screenshot and drops you straight into an editor with arrows, text, highlights, and shapes, so you mark it up the moment you capture it and share without ever leaving the browser. For getting the capture itself right first, see how to take a full-page screenshot in Chrome.

InkShot — Webpage Screenshot & Draw Tool
InkShot captures full-page, visible-area, or selected-region screenshots and lets you annotate them with arrows, text, and highlights — free, right in your browser.
Try It Free →Annotation for Different Jobs
The right markup depends on the task. For bug reports, an arrow at the broken element plus a text note of what should happen is gold for developers. For design feedback, boxes and short comments beat a long written list. For tutorials, number your arrows so readers follow the sequence. And whenever there's personal or confidential information on screen, blur it before the image leaves your hands. There's a whole workflow around this for teams — see how to capture and mark up a web page for feedback.
Common Annotation Mistakes to Avoid
A few habits quietly undermine otherwise good markup. Over-annotating is the big one — when everything is circled and arrowed, nothing stands out, so limit yourself to the essential points. Low-contrast colors that blend into the page are another; a marker that's hard to see defeats the purpose. Vague labels like "this?" leave the viewer guessing as much as a bare screenshot would, so write what you actually mean. And covering the very thing you're pointing at with a giant arrow happens more than you'd think — place markup beside the target, not on top of it. Avoid these and your annotations read instantly.
Saving and Sharing Your Annotated Shot
Once it's marked up, how you save matters a little. PNG keeps text and lines crisp and is the safe default for screenshots; JPG makes smaller files but can soften fine lines and text, so it's better for photo-heavy images than for annotated UI. For sharing, copying straight to your clipboard and pasting into a chat or doc is usually fastest, while saving a file is better when you need a record or want to attach it formally. A tool that lets you copy or download right after annotating keeps the whole capture-mark-share loop to a few seconds.
Frequently Asked Questions
What's the easiest way to add arrows to a screenshot?
A capture-and-draw extension is quickest — it opens an editor with arrow, text, and highlight tools right after you capture, so there's no separate image app.
How do I hide sensitive info in a screenshot?
Use a blur or solid-box tool over names, emails, and numbers before sharing. Do it on the image itself — don't rely on the viewer not to look.
Can I annotate a screenshot without installing software?
A browser extension keeps it all in Chrome with nothing extra to install beyond the extension itself, and works on any page you capture.
How much annotation is too much?
If a viewer can't tell what to look at in a second, it's too much. Aim for one clear pointer per image and split complex points across multiple screenshots.
The Bottom Line
Annotation is what makes a screenshot actually communicate. A few arrows, a label, a highlight, and a blur cover nearly everything — just keep it minimal and consistent. The fastest path is a tool that captures and marks up in one place, so clear visual explanations take seconds, not a detour through a separate editor.
