You do not need a paid audit tool or a login to see how well a page is optimized. Every signal that matters for on-page SEO -- the title tag, meta description, headings, images, canonical, robots directives, and links -- already lives inside the page you are looking at. This guide shows you how to check on-page SEO the fast way and the manual way, right inside your browser, so you can judge any URL in a couple of minutes.
What does checking on-page SEO actually mean?
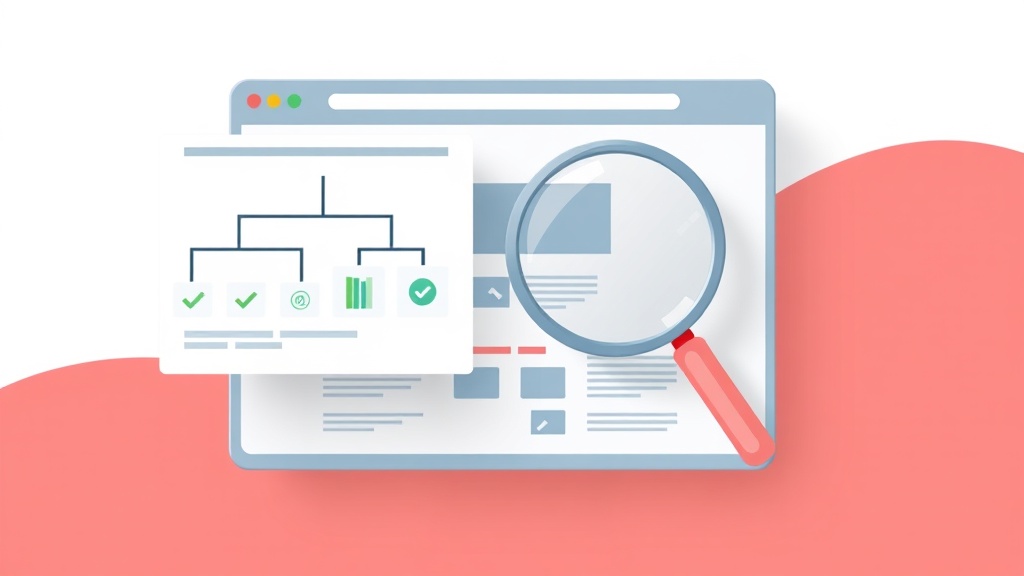
Checking on-page SEO means inspecting the parts of a web page that search engines read to understand and rank it: the title tag and meta description, the H1 and heading structure, image alt text, the canonical URL, the robots meta tag, and the internal and external links. The fastest way to check all of this at once is a browser extension that reads the page and lays out every element in plain language -- no crawling, no signup, no waiting. A free tool like SEO Analyzer Pro AI shows the title, meta, headings, images, and links for whatever tab you are on in a single click. You can also check everything by hand using View Source and Chrome DevTools, which is worth knowing so you understand exactly what the extension is reading.
Check the title tag and meta description
The title tag and meta description are the two elements that show up directly in Google search results, so start there. The title tag should be unique, roughly 50 to 60 characters, and lead with the page's primary keyword. The meta description does not directly affect rankings, but a clear 150 to 160 character summary improves click-through.
- Press Ctrl+U (Cmd+Option+U on Mac) to open View Source, or right-click and choose View Page Source.
- Press Ctrl+F and search for the word title to find the title tag, then search for name="description" to find the meta description.
- Check that each is present once, is the right length, and reads naturally rather than being stuffed with keywords.
A one-click checker does this for you and often flags length problems automatically, showing whether the title is too long to display in full.
Check the heading structure (H1 and H2)
Headings give a page its outline and tell search engines what each section is about. A well-optimized page has exactly one H1 that describes the whole page, followed by H2s for main sections and H3s nested underneath. Skipped levels (an H2 jumping straight to an H4) or multiple H1s are common problems.
- In View Source, use Ctrl+F to search for h1 and confirm there is only one.
- Read the H2s in order -- they should read like a table of contents that makes sense on its own.
- Confirm your target keyword or a close variation appears in the H1 and at least one H2.
An extension that lists the full heading tree is far quicker here, because it shows the hierarchy visually instead of making you scan raw markup.
Check images and alt text
Alt text describes an image to search engines and to screen readers. Missing alt attributes are one of the most common on-page issues, and they cost you both accessibility and image-search visibility. Good alt text is a short, specific description -- usually five to fifteen words -- of what the image actually shows.
- Right-click any image and choose Inspect to see its img tag and the alt attribute in the Elements panel.
- To check every image at once, open View Source and search for alt= to reveal each one inline.
- Flag images with an empty alt="" (acceptable only for purely decorative graphics) or with no alt attribute at all.
Check the canonical, indexability, and robots meta
These signals decide whether a page can be indexed at all, so they matter more than any single tag. The canonical URL tells Google which version of a page is the primary one. The robots meta tag can carry a noindex value that quietly keeps a page out of search results -- a setting worth confirming on any page that is not ranking.
- Open DevTools (F12), go to the Elements tab, and expand the head element to see the live meta tags, including canonical and robots.
- Search the head for rel="canonical" and confirm it points to the URL you expect.
- Search for name="robots" and check it does not say noindex or nofollow unless that is intentional.
Note that DevTools shows the rendered DOM, so a canonical injected by JavaScript will appear there even if it is missing from the raw View Source -- a distinction that matters when you are debugging why a page is not indexed. For a definitive answer, Google Search Console's URL Inspection tool shows what Google actually recognizes.
Check internal and external links
Internal links spread authority through your site and help search engines discover pages; outbound links to credible sources add context. On any page, you want to confirm links point where they should and use descriptive anchor text rather than click here.
- In the DevTools Console, run document.querySelectorAll('a').length for a quick link count.
- Scan for internal links that reinforce related pages, and check that important pages are linked from the body, not just the footer.
- Watch for broken links and links marked nofollow that you did not intend.
A tool like SEO Analyzer Pro AI separates internal from external links and can surface broken ones, which is tedious to do by hand.
Manual inspection vs a one-click check
Both approaches read the same HTML -- the difference is speed and clarity. Manual inspection (View Source, right-click Inspect, and Chrome DevTools) is free, always available, and teaches you exactly where each signal lives. It is the right tool when you want to verify one specific thing or understand rendered versus raw HTML. The trade-off is that scanning raw markup for every element on every page is slow and easy to get wrong. A one-click extension is the practical everyday choice: it reads the whole page and shows all of the above at once while you browse -- not the only way to check, but the fastest.
Turning findings into fixes
Checking is only useful if it leads to edits. Work through what you found in priority order: fix anything that blocks indexing first (an accidental noindex, a wrong canonical), then improve what affects clicks and relevance (title, meta, H1), then clean up the rest (alt text, thin headings, broken links). If you want a repeatable routine, our on-page SEO checklist walks through each element in order, and if you are building a lean toolkit, our roundup of the best free Chrome extensions for small business covers the handful worth keeping installed.
Frequently asked questions
How do I check if a web page is SEO friendly?
Open the page and confirm it has one clear title tag, a compelling meta description, a single H1 with logical H2s, alt text on images, a correct canonical, a robots meta that is not set to noindex, and descriptive internal links. You can verify each of these manually with View Source and DevTools, or read them all at once with a free on-page checker extension.
How do I see a website's meta tags?
Press Ctrl+U (Cmd+Option+U on Mac) to open the page source, then press Ctrl+F and search for name="description" or rel="canonical" to jump to the tag you want. To see tags added by JavaScript, open DevTools with F12, go to the Elements tab, and expand the head section instead.
Can I check on-page SEO for free?
Yes. View Source, right-click Inspect, and Chrome DevTools are built into every browser at no cost, and free extensions read the same signals for you in one click. SEO Analyzer Pro AI is a free Chrome extension that shows the title, meta, headings, images, and links for any page you are on -- a fast, plain-language way to check on-page SEO while you browse, then verify the details by hand whenever you want to dig deeper.